Why Try Making Yerba Mate Kombucha?
I have toyed with the idea of making yerba mate kombucha for a long while. After having been making kombucha for some time and experimenting with different teas and how they affect flavour, I couldn’t help but thinking that yerba mate would be the perfect infusion to trial.
Brewing kombucha with various teas I noticed that the actual taste of the tea was not that prevalent in the final drink, as it fermented and acidified. So I was curious to test out the effects of yerba mate with its strong, bitter and smoky taste.
Up until this point the teas I had used to make kombucha were:
- Organic black assam loose tea leaves
- English breakfast tea
- Yerba mate and chai teabags
Surprisingly each resulting kombucha tasted largely the same! So I decided to try loose leaf yerba mate to see if I could transfer some extra flavour into the kombucha.
Lets get started…
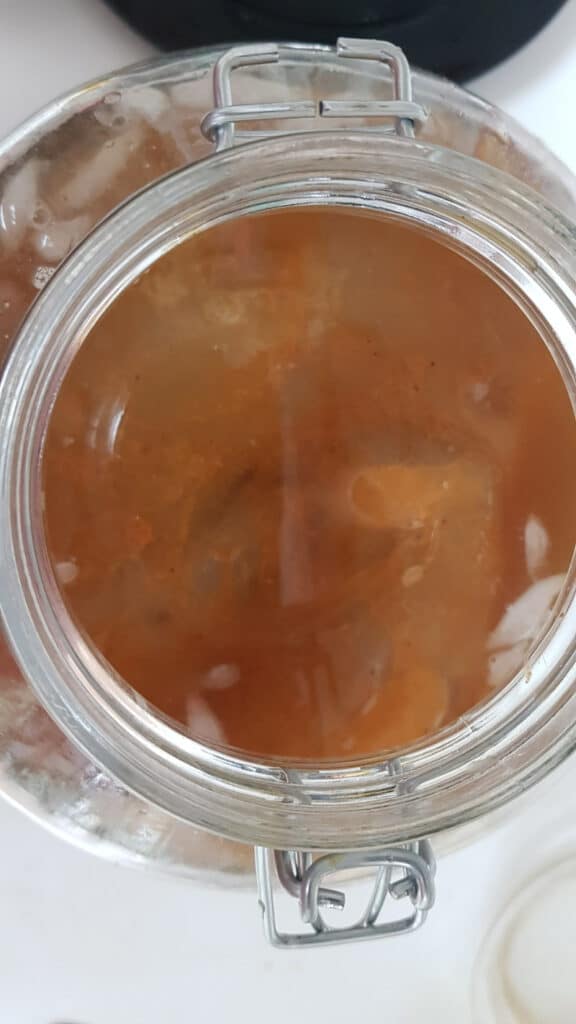
… SO to start with I had my brewing jar. Its a very large glass container which I would say holds about 7 litres of liquid. Leftover in it you see the scoby from my last kombucha, and a little of the kombucha itself. This is necessary as the live culture for the next one.. always a little passes from one brew to the next. I reserve around a cup full. If you are brewing your kombucha for the first time you will need to buy the scoby. It is provided in a water tight container with some of this starter liquid.
Always remember when you are bottling up your kombucha, to reserve some liquid for the next one.


Yerba Mate Kombucha – Which Yerba?
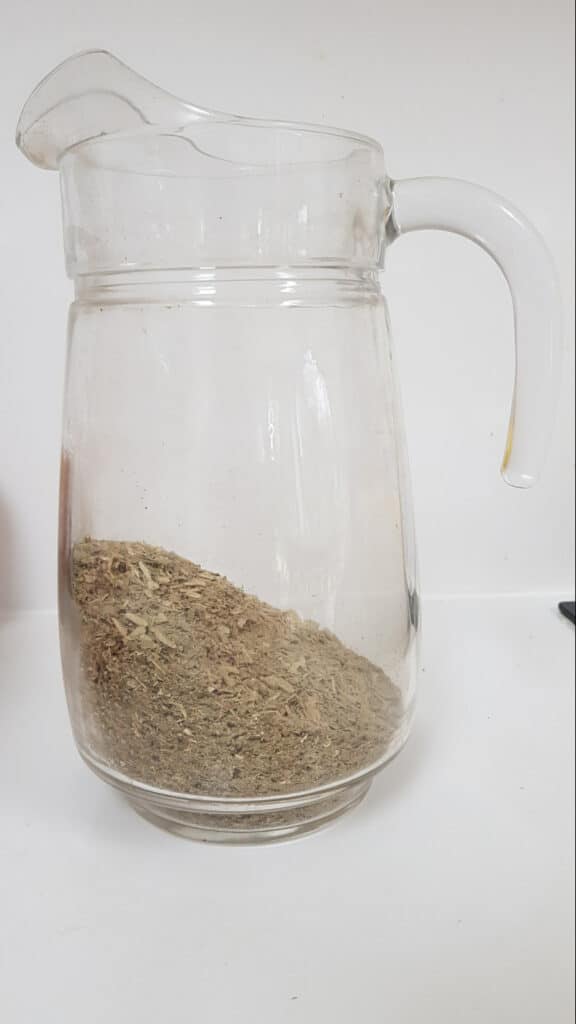
Having tried a few kombuchas I opted for CBSe Guarana. A light and airy yerba with a fruity flavour from the guarana but still with the smoky background taste, I thought it would work well.
So to brew it I put about half a pack into a large jug and filled it to the top with below boiling water. I didn’t measure the temperature, but it would have been about 80C. To this I added a cup of sugar.
I did allow it to brew for about 20 minutes. I wanted the infusion to be very strong because it would then be diluted to fill up the large VAT for fermenting

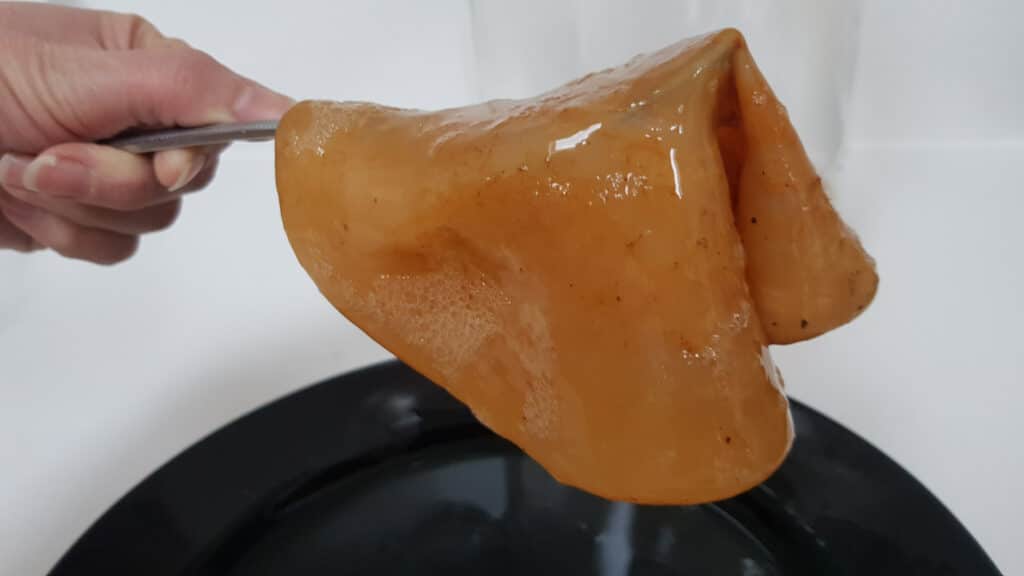
What’s a Scoby?
What is this jelly thing?! Scoby stands for: Symbiotic Culture Of Bacteria and Yeast. Being honest, when I first started brewing kombucha I was quite put off by this ugly “live” scoby and more so when I read its definition. But soon I grew to love kombucha and stopped thinking about it as a hunk of bacteria floating around. After all so many of the foods and drinks we love are fermented in some way.. bread, beer, marmite etc etc
You can read more about Scobys here
Preparing your Kombucha for Fermentation
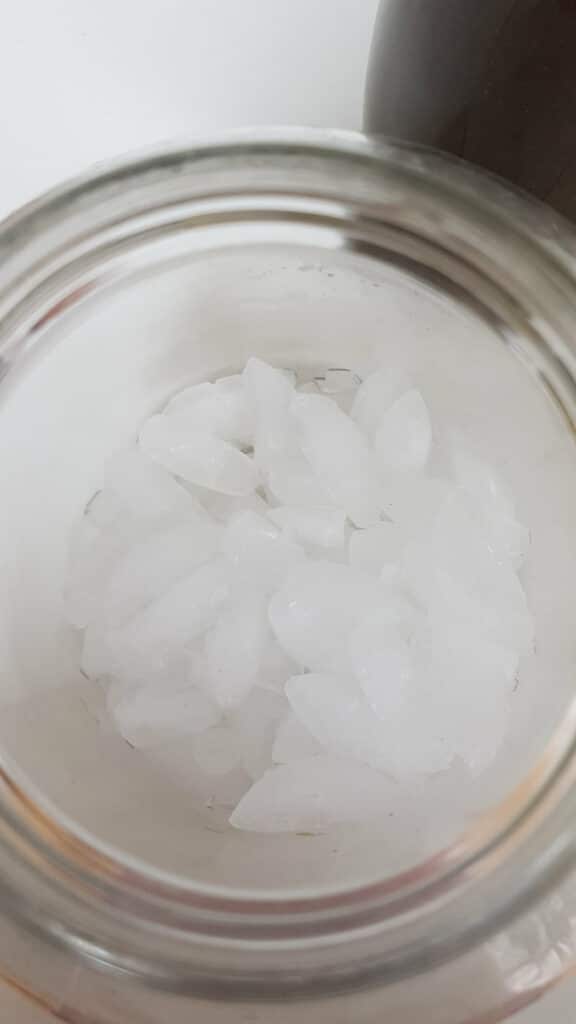
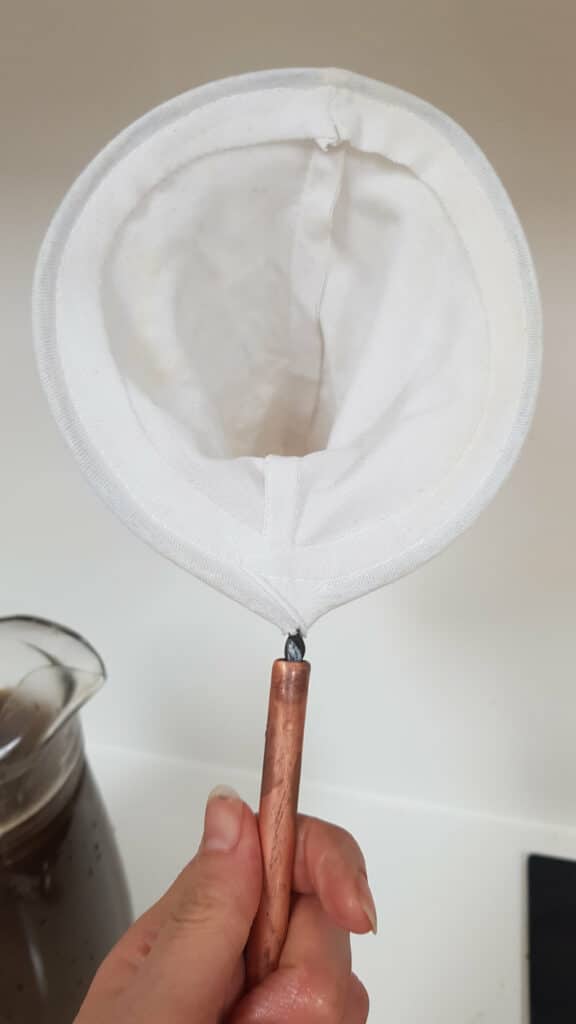
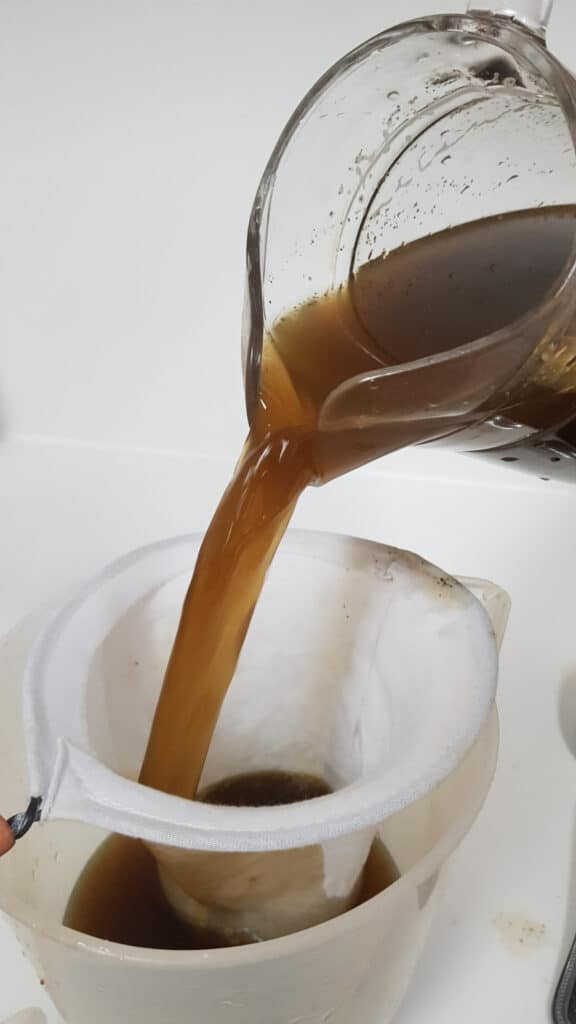
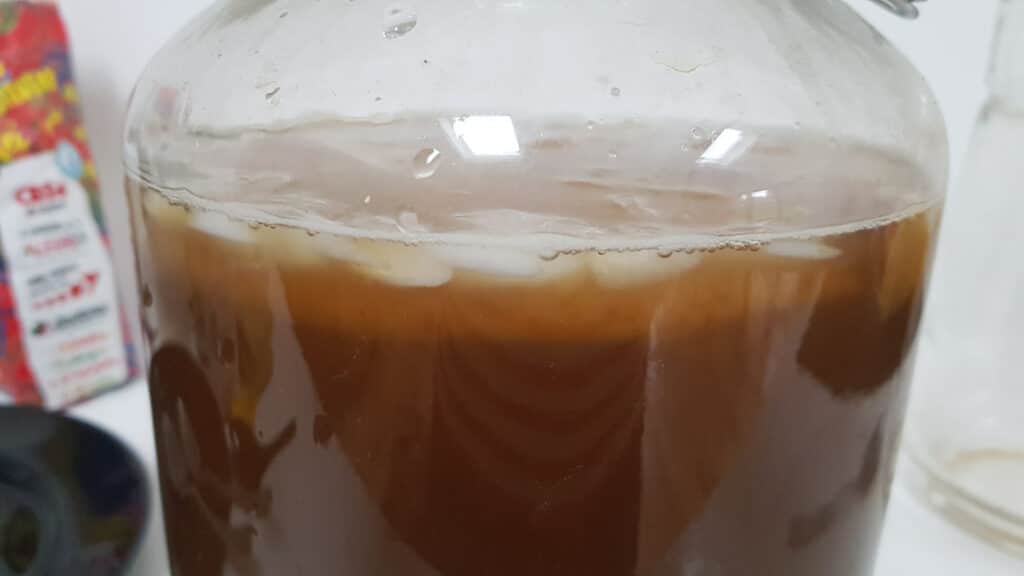
So next I wanted to strain and cool the infusion. It is important to be cool so as not to kill the live scoby. I could have let it cool at room temperature. However as I wanted to hurry things along I added ice to the main vat. To get rid of the bulk of the yerba waste I poured the infusion first through a colander. Yerba mate has very fine particles, so I then poured it through a cloth coffee filter. An alternative would be to line a jug with a muslin cloth, pour the mixture into that and then strain it.
Even so, all particles will not be filtered out and I would expect a small amount of “dust” to be present as a residue.. such is yerba mate!
Tip! You can use your used up yerba leaves as compost for plants. Simply sprinkle it on flower beds on into plant pots.


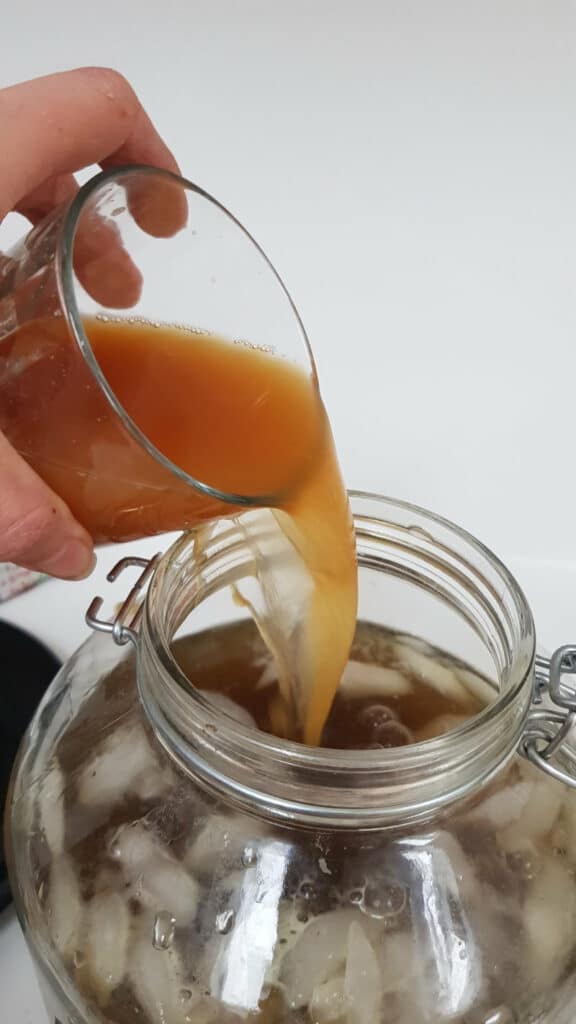
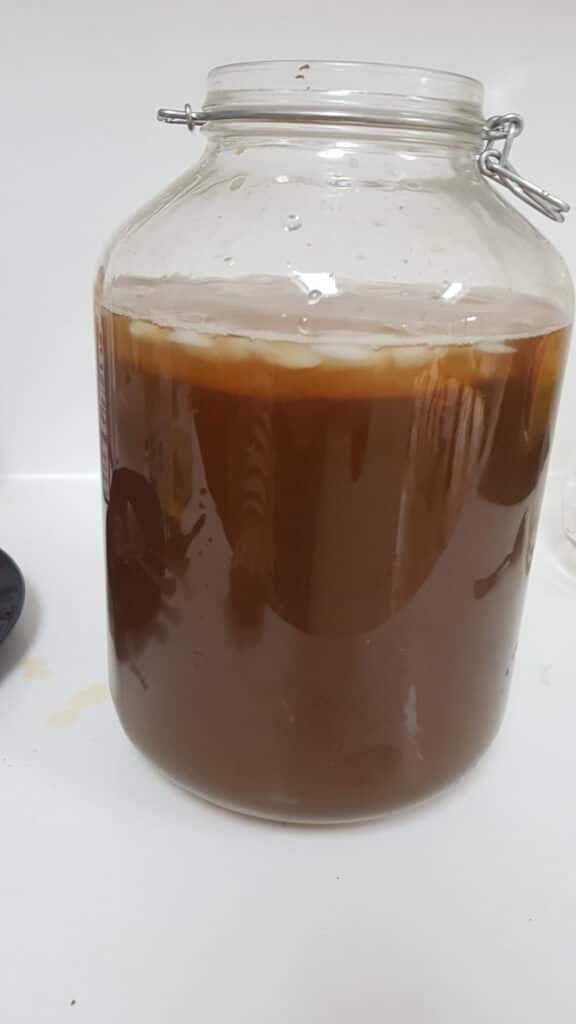
Next I filled the vat to the top and added back in the reserved liquid from my previous kombucha and the scoby. It needs to breathe so I place a cloth over the opening and secure it with an elastic band. Its recommended to keep in a dark place. So I then cover with a tea towel and put away for a few days


5 Days Later….
Well actually around 7 days as I like the kombucha to be quite acidic. The best thing to do is try the infusion after 5 days and then bottle up or leave a couple more days based on your own preferences.
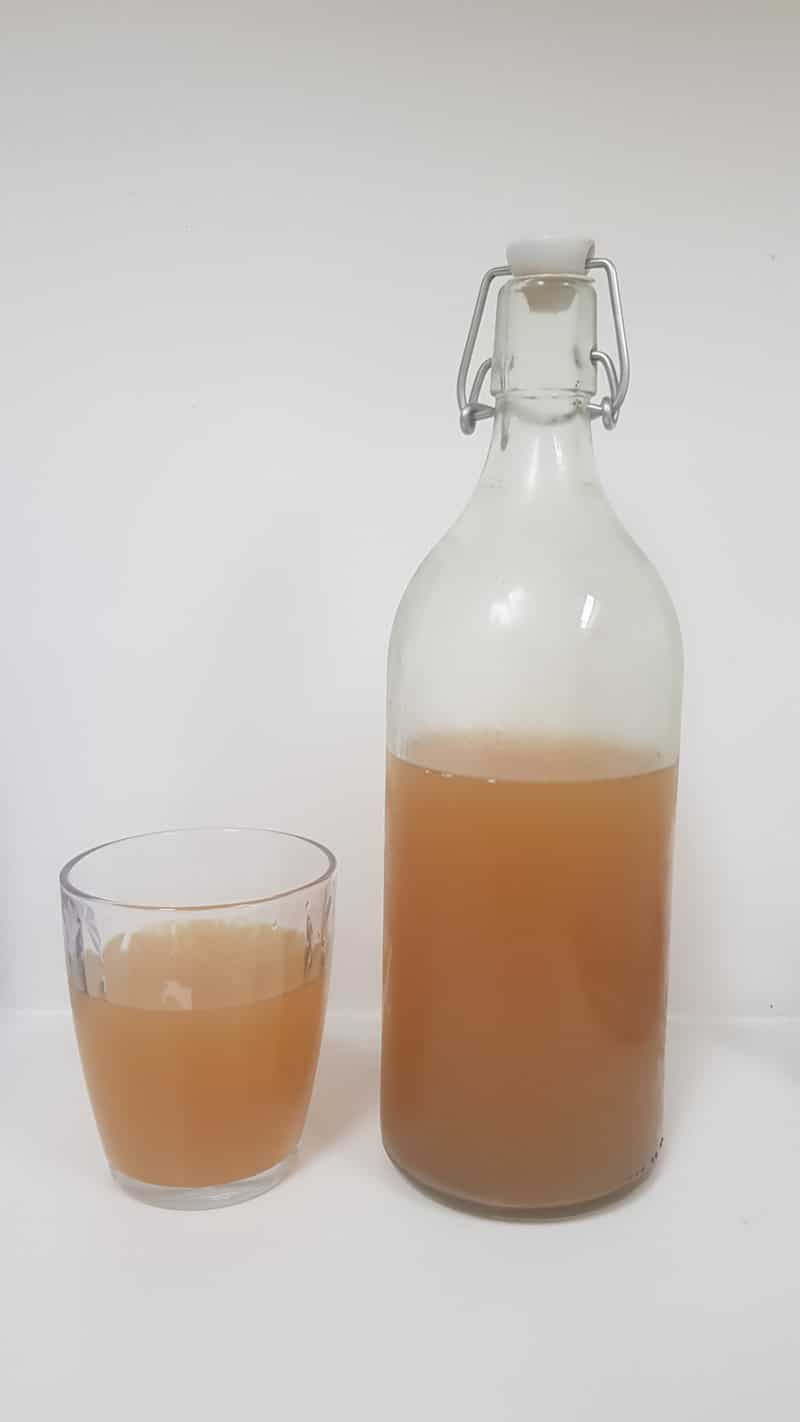
First observations is that the yerba mate kombucha looks potent! And I wasn’t disappointed, it was strong and acidic. And actually the smoky overtones of the yerba really came through. It was a far stronger smoky taste than if I had had a mate in the normal way. The smoky taste isn’t what I most enjoy about drinking mate. However in yerba mate kombucha I was surprised to really like it and its what made the drink.
When bottling, use glass bottles. Leave them at room temperature for a couple of days to finish of fermenting then transfer to the fridge. You can drink it straight away though. Remember to keep a little aside for the next brew, and ideally you would make your next kombucha at this point.


Recap How to Brew Yerba Mate Kombucha
- Brew yerba by using approx 250g loose leaf yerba, 2 litres hot water and 1 cup of sugar for 20 minutes
- Top up to around 7 litres with water in a large container and cool
- Add in reserved kombucha and scoby, cover and leave to ferment for 5-7 days
- Enjoy chilled!